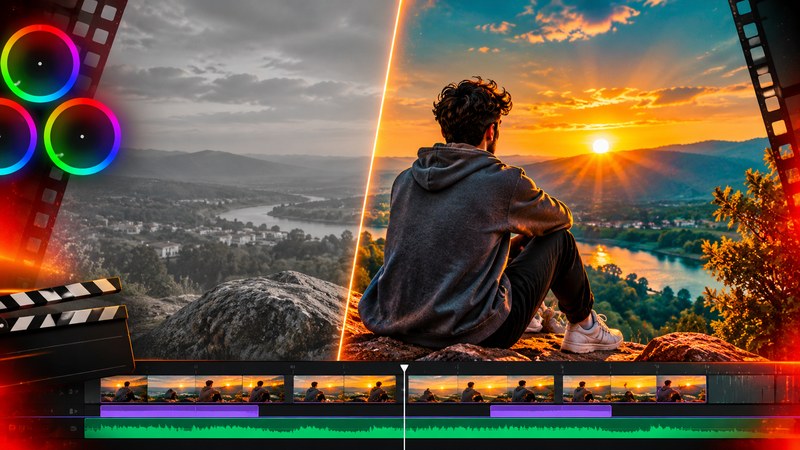
Good free LUTs for DaVinci Resolve are the fastest honest shortcut in video editing. One small file can take flat, grey-looking footage and give it the warm skin tones and cool shadows of a cinema release — in a single click, inside the free version of Resolve, without spending anything. The catch is that most "free LUT" lists online are full of dead links and unauthorised copies of paid LUTs. This guide only lists packs from sources you can trust, and shows you how to install them in DaVinci Resolve 21.
What Is a LUT?
A LUT, short for lookup table, is a small file that remaps the colours in your footage. Drop one on a clip and it shifts hue, saturation and contrast to a fixed recipe — a film-style grade in one step, instead of twenty sliders by hand. Most free LUTs come as .cube files, and that format loads in DaVinci Resolve, Premiere Pro, Final Cut Pro and CapCut on desktop.
Two kinds matter. A conversion LUT turns flat LOG or RAW footage into standard Rec.709 colour — it makes your footage look normal first. A creative or look LUT adds a style on top, such as the teal-and-orange blockbuster look. Always go conversion first, look second: a creative LUT on flat LOG footage looks washed out, and a conversion LUT on normal footage crushes the contrast.
7 Free LUT Packs Worth Downloading in 2026
Every pack below is free from its maker's own site and loads in the free version of DaVinci Resolve.
- FilterGrade free cinematic pack — best first download. Eight .cube files, including a teal-and-orange look and several dramatic grades, with an instant download and no email signup. They load in Resolve, Premiere Pro, Final Cut Pro and CapCut.
- Luttie free library — best for Blackmagic cameras. Fourteen free .cube LUTs, no account needed, free for commercial and client work. The standout is a free Blackmagic Gen 5 to Rec.709 conversion LUT for Pocket 4K, 6K and 6K Pro cameras, plus film looks such as a soft Portra 400 emulation.
- Color Grading Central CineDream — best way to get the M31 look free. The M31 teal-and-orange LUT from VisionColor's Osiris pack is one of the most shared looks in indie filmmaking, but the original pack is paid, and many "free M31" files online are unauthorised copies. The clean free route is CineDream, a free desktop app with 100 LUTs inside: preview them on your own footage, pick the closest look, and export it as a .cube file you own.
- IWLTBAP free sample pack — best LOG conversions. IWLTBAP is best known for its LOG-to-Rec.709 conversion LUTs. Its free sample pack gives you ten or more LUTs with an online previewer, and they work across Premiere Pro, After Effects, Resolve and Vegas Pro.
- Shutterstock free LUT pack — biggest free set. Forty-eight .cube files across two downloads, with looks for LOG footage and standard Rec.709 clips, and no email signup. The first batch was graded on Blackmagic Pocket 6K footage, so pull the strength back on other cameras.
- FreshLUTs — best free library. A large free library where working colorists share their own LUTs. Quality varies because anyone can upload, so browse the featured section first and grab the .cube versions.
- SmallHD movie looks pack — best film grades. SmallHD keeps a free pack of cinematic looks graded in DaVinci Resolve. You sign up with an email, and the pack includes several imitations of popular film grades worth trying.
How to Install a LUT in DaVinci Resolve (Free Version)
Installing a LUT takes about a minute, and the free version of Resolve handles .cube files exactly like Studio does. Download the .cube file from the pack's official page, unzip it if needed, and copy it into Resolve's LUT folder: on Windows that is C:\ProgramData\Blackmagic Design\DaVinci Resolve\Support\LUT, and on Mac it is /Library/Application Support/Blackmagic Design/DaVinci Resolve. Open Resolve, go to the Color page, click the three-dot menu in the LUT browser and choose Refresh — your LUT now appears in the list.
Work with nodes: keep the first node for basic corrections such as exposure and white balance, then add a second node and apply the LUT there. Then lower the strength — pull the Key Output down until the look sits naturally. Most free LUTs look best at 50 to 70 percent strength, not 100. If the LUT does not appear after refreshing, check the file ends in .cube and sits in the folder above, not a subfolder.
Can You Use These LUTs in CapCut?
Yes, on desktop — CapCut for desktop imports .cube files, so the same packs work there. The phone app cannot import custom LUT files at all. For more editing tools that pair well with a good grade, see our guide to Top AI Tools Every Video Editor Should Try.
Test Every Free LUT Before You Use It
A free LUT usually fails because it lands on the wrong kind of footage, not because the file itself is bad. Give every new LUT a quick trial on one test clip before it touches a finished project — three checks tell you whether to keep it. First, match the input: check whether the LUT expects LOG footage or footage already in Rec.709 — get this wrong and no amount of tweaking saves the grade. Second, check the skin on a vectorscope: teal-and-orange LUTs often push skin past the skin-tone line into orange, so if the face looks sunburnt, the LUT is too strong. Third, check the waveform for highlights and shadows flattening at the top or bottom — a LUT cannot bring back detail it clips. Correct exposure and white balance first, then lower the strength until the picture looks natural.
Common Mistakes to Avoid
- Applying a creative LUT to LOG footage without a conversion first. This is the number one reason beginners think free LUTs are rubbish. Convert to Rec.709, then add the look.
- Leaving the LUT at 100 percent strength. Almost every LUT is graded stronger than you need. Pull it back to half or two-thirds and the result looks professional instead of filtered.
- Downloading "free M31" packs from rehost sites. The original Osiris pack is a paid product, and random reuploads are often mislabelled or broken. Get the look from CineDream instead.
- Ignoring the licence. Most packs in this list are free for commercial work, but not every free LUT is. Check the licence on the maker's page before using a look in a client video or a monetised upload.
- Collecting LUTs instead of learning to grade. A hundred downloaded packs will not teach you colour. Pick three looks you like and learn what each one does to your footage.
Final Words
Free LUTs for DaVinci Resolve work best as a shortcut, not a substitute for grading. Start with the FilterGrade pack or the Luttie library, install one conversion LUT for your camera, add one creative look on a separate node, and pull the strength back until it feels like your footage — only better. Once the grade is right, our Best Photo Filters and Presets for Instagram Reels covers the best options for social video.